
3 DIY Stain Removers for Clothes
This post may contains affiliate links. As an Amazon Associate, I earn from qualifying purchases. Read the full disclosure here.
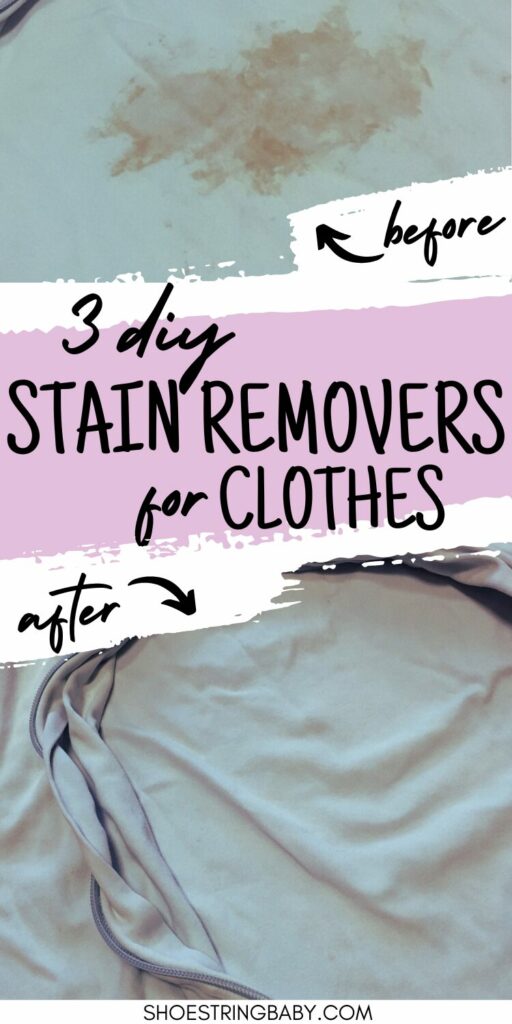
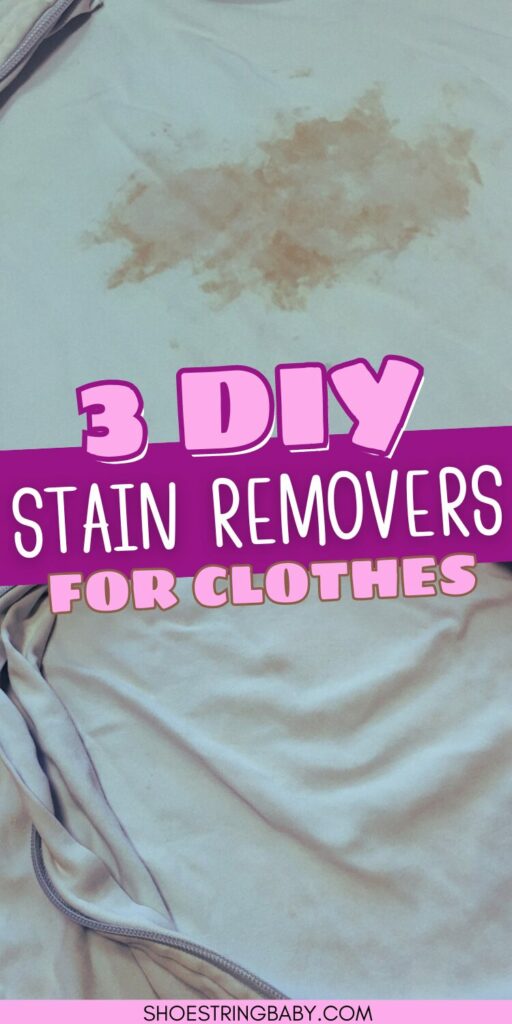
Looking for DIY stain remover for set-in stains? You’ve come to the right place! Below you’ll find my three favorite homemade stain removers for clothes, using only household ingredients.
After we brought out baby home from the hospital, I quickly realized that we were going to have to step-up our laundry game. I took to google to look for DIY homemade stain remover recipes but was disappointed to find all the top hits were for store-bought products I didn’t have on hand, like OxiClean.
So, I decided to start experimenting to find I a homemade stain remover. The stain removers you’ll find below are my favorite from that experimenting and ones I use regularly.
I get nearly all our baby gear used (check out my monthly baby costs reports for more details on how I score secondhand baby stuff) so sometimes items will require extra elbow grease to get spots out.
Let’s check out these 3 real mom-tested methods for getting out set-in stains with household stain removers!
Method 1: Baking soda & vinegar
This strategy is for your run-of-the-mill laundry stains.
I love using both baking soda and/or vinegar in most my household cleaning and enlisting them with laundry is no exception.
When using baking soda and vinegar, you can approach it two ways. The first way is to use baking soda on the stain first and then hit it with vinegar. The second is to do a vinegar soak and then rub in baking soda into the stains after.
So baking soda then vinegar, or vinegar then baking soda? I do both depending on the mess. My go to homemade stain remover is a baking soda paste first and then a vinegar rinse. I find removing stains with baking soda and vinegar works for most everyday spots.
I’d try both and see which works best for you.
Option 1: Baking Soda and THEN Vinegar
- Mix approximately equal parts baking soda and dish soap.
- You want the consistency similar to rubber cement. The paste is done so you can easily rub in the baking soda so it is not an exact science. I like mine thick enough where I can scoop it with my fingers and rub in a good coating.
- Rub the paste into any spots.
- If you have it, you could scrub it a bit with a brush (an old toothbrush or even your kitchen sink brush would work). Let mixture sit on clothes for at least 30 minutes.
- Rinse spots with distilled white vinegar.
- You want to use enough vinegar to wet the spot. It will react when it comes in contact with the baking soda, bubbling up.
- After using the DIY stain remover, wash in laundry like normal.
- I use my usual wash settings after this process.
Option 2: Vinegar and THEN baking soda
- Soak garment in a bowl of distilled white vinegar.
- Preferable overnight. Save the leftover vinegar to throw in the washing machine. You can also use the vinegar to deodorize sink drains.
- After the soak, make a paste of baking soda + dish soap.
- Again, start with approximately equal parts baking soda and dish soap. You want the consistency like rubber cement. It is not an exact science and the recipe is forgiving. I like mine thick enough where I can scoop it with my fingers and rub in a good coating.
- Rub paste into any spots, scrub a bit with a brush if available.
- An old toothbrush works great for the scrubbing if you have one handy. Scrubbing with a brush is optional.
- After using the homemade stain remover, wash in laundry like normal.
- You can throw in the leftover vinegar into the final rinse of the wash cycle if you’d like.
Method 2: Sun & lemon juice
This DIY stain remover is great for lingering stains still hanging around after you’ve run the garment through the washing machine. It’s my favorite method for our cloth diapers.
If you are working to remove a stain, check the item when it comes out of the wash cycle. If the spot is still there, try laying the garment out in the sun to dry as an easy stain remover.
When sunning out stains, the clothes need to be wet when they are put out, so putting them out straight from the washing machine is perfect.
Allegedly, you can even sun an item in a window sill or on a cloudy day but I usually wait to put out laundry on sunnier days so I can’t vouch for these alternatives.
How to use sun as a stain remover (with an optional lemon juice booster).
- Lay wet clothes out in a sunny spot for 2-3 hours.
- Clothes should be wet before they are put out in the sun. Skip the dryer and pop clothes outside straight from the washing machine. Clothes should sit outside long enough to dry.
- For an added boost, cover stains with lemon juice before sunning(optional).
- Adding lemon will assist in the sun bleaching process that lightens the stains. Not unlike how blondes would try to lighten their hair in high school (or in my case, still in adulthood!).
- Repeat as necessary.
- Using the sun as a DIY stain remover may take a couple sunning cycles. The garment needs to be wet so once it dries, the stain removing won’t be as effective. If you need to repeat, remember to re-wet the garment.
- NOTE: The sun is essentially bleaching the garment so be careful leaving colors for too long.
- As with any laundry process, consider spot testing homemade stain removers for more delicate or important garments.
Method 3: Hydrogen Peroxide, Dawn & Baking Soda
This method is the big guns for the hardest, most set-in stains.
Hydrogen peroxide works wonders on stains, especially old, set-in stains that you often find on thrift store clothes. Someone once sold me a baby sleep sack with the biggest, grossest stain and I was able to get it out with this method.
This is also the method I use for blood stains and for getting yellowing out of shirt collars and arm pits.
Using hydrogen peroxide as a stain remover is also great for times when sunning isn’t the best option. For us, living in a city, I am always a little worried about stuff getting stolen when it is outside sunning.

How to use hydrogen peroxide as a stain remover
- Make a hydrogen peroxide paste with hydrogen peroxide, dish soap and baking soda.
- To make paste, mix together roughly 2 parts hydrogen peroxide, 1 part dish soap, ½ part baking soda.
- Apply your hydrogen peroxide paste liberally to stains
- Leave paste on stains for at least 30 minutes before washing.
- You can leave the paste to sit longer for tough stains.
- Wash garment in laundry like normal.
- Wash according to the garment’s wash instructions like normal. Wash in laundry like normal.
- NOTE: these strategies work for a lot of fabrics but always be mindful of your garment’s care instructions.
- To be cautious, spot test when using this strategy on delicate items before diving in.
I also always use hydrogen peroxide straight from the bottle for blood stains. Using hydrogen peroxide as a stain remover for blood is even easier:
How to use hydrogen peroxide on blood stains
- Pour a liberal amount of hydrogen peroxide on blood stain.
- You can pour the hydrogen peroxide on the blood straight from the bottle.
- For best results, apply hydrogen peroxide to fresh blood stain as soon as possible.
- Using hydrogen peroxide on blood works best when the blood is still wet and has not had the opportunity to set in. Apply the hydrogen peroxide BEFORE running the garment through a wash cycle.
- If the hydrogen peroxide bubbling on the blood forms a foam coating, rinse with more hydrogen peroxide or with water.
- I’ll quickly rinse out the hydrogen peroxide under the faucet if the foam coating gets too thick or slimy.
- If you rinsed, reapply a generous amount of hydrogen peroxide.
- Repeat applying hydrogen peroxide until blood stain lightens.
- For tough spots, allow hydrogen peroxide to sit at least 30 minutes before washing.
- Wash in washing machine according to garment care instructions.
Let me know how these DIY stain remover recipes work for you! Do you have a homemade stain remover recipe that I didn’t share?
Like this article? Pin it


![How to Buy Used Cloth Diapers [2023 Guide]](https://shoestringbaby.com/wp-content/uploads/2020/08/secondhand-cloth-diaper-guide-200x300.png)
![Sit-Me-Up Seat vs. UpSeat [2023 Baby Floor Chairs]](https://shoestringbaby.com/wp-content/uploads/2022/06/sit-me-up-vs-upseat-200x300.png)